前言
博客的初衷是为了写文章、发布文章,追求简洁和加载速度。最终选择了NextT主题。
更换主题
下载NextT主题

下载后解压ZIP,把文件夹名字修改成NextT,并把主题文件夹复制到 D:\Myblog\themes里面。
修改主题
用vs code(你也可以用其他编辑器)打开 D:\Myblog\_config.yml,搜索theme,修改为:NextT,保存并退出。

博客面貌仔细修改
改主题样式
D:\Myblog\themes\NextT\_config.yml,搜索 Scheme——> 改用 scheme: Gemini

语言设置
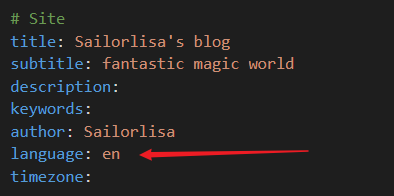
NextT很容易出现德语的情况,所以打开 D:\Myblog\_config.yml,把语言改成:
1 | language: en |

添加目录栏选项
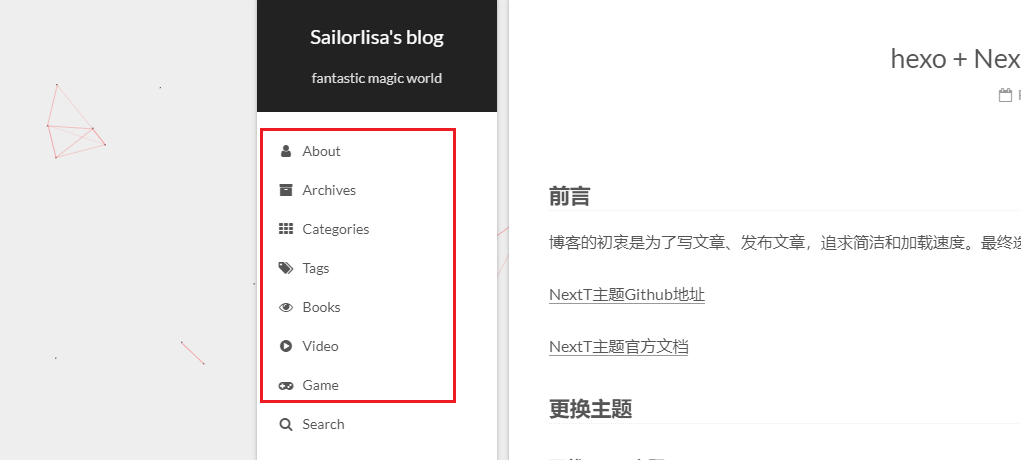
D:\Myblog\themes\NextT\_config.yml,搜索 menu——> 设置 about、archives、categories、tags、Books、Video、Game。
添加新的栏:
1 | menu: |
之后在D:\Myblog右键Git Bash here:
1 | $ hexo new page "archives" |
打开 D:\Myblog\source,打开对应md文件,一一修改type:
1 | title: categories |


代码块主题
D:\Myblog\themes\NextT\_config.yml,搜索 highlight_theme——> 改为 night eighties

侧边栏
D:\Myblog\themes\NextT\_config.yml,搜索 social——>开启微博

首页文章摘要
D:\Myblog\themes\NextT\_config.yml,搜索 auto_excerpt——>开启

标签图标更改
打开D:\Myblog\themes\NextT\layout\_marcro\post.swig文件,搜索 post_tags,将 #号 换成<i class="fa fa-tag"></i>

添加背景动态js
D:\Myblog\themes\NextT文件夹下,Git Bash here:
1 | $ git clone https://github.com/theme-next/theme-next-canvas-nest source/lib/canvas-nest |
打开D:\Myblog\themes\NextT\_config.yml,修改:
1 | canvas_nest: |

加载条
PS:如果网页加载慢,就关掉这个
D:\Myblog\themes\NextT文件夹下,Git Bash here:
1 | $ git clone https://github.com/theme-next/theme-next-pace source/lib/pace |
D:\Myblog\themes\NextT\_config.yml
1 | pace: true |

关注Github
打开D:\Myblog\themes\NextT\layout\_layout.swig文件,搜索<div class="headband"></div> 将复制的内容粘贴到<div class="headband"></div>下面,如下:
1 | <a href="https://github.com/sailorlisa" class="github-corner" aria-label="View source on GitHub"><svg width="92" height="92" viewBox="0 0 250 250" style="fill:#b495e3; color:#fff; position: absolute; top: 0; border: 0; right: 0;" aria-hidden="true"><path d="M0,0 L115,115 L130,115 L142,142 L250,250 L250,0 Z"></path><path d="M128.3,109.0 C113.8,99.7 119.0,89.6 119.0,89.6 C122.0,82.7 120.5,78.6 120.5,78.6 C119.2,72.0 123.4,76.3 123.4,76.3 C127.3,80.9 125.5,87.3 125.5,87.3 C122.9,97.6 130.6,101.9 134.4,103.2" fill="currentColor" style="transform-origin: 130px 106px;" class="octo-arm"></path><path d="M115.0,115.0 C114.9,115.1 118.7,116.5 119.8,115.4 L133.7,101.6 C136.9,99.2 139.9,98.4 142.2,98.6 C133.8,88.0 127.5,74.4 143.8,58.0 C148.5,53.4 154.0,51.2 159.7,51.0 C160.3,49.4 163.2,43.6 171.4,40.1 C171.4,40.1 176.1,42.5 178.8,56.2 C183.1,58.6 187.2,61.8 190.9,65.4 C194.5,69.0 197.7,73.2 200.1,77.6 C213.8,80.2 216.3,84.9 216.3,84.9 C212.7,93.1 206.9,96.0 205.4,96.6 C205.1,102.4 203.0,107.8 198.3,112.5 C181.9,128.9 168.3,122.5 157.7,114.1 C157.9,116.9 156.7,120.9 152.7,124.9 L141.0,136.5 C139.8,137.7 141.6,141.9 141.8,141.8 Z" fill="currentColor" class="octo-body"></path></svg></a><style>.github-corner:hover .octo-arm{animation:octocat-wave 560ms ease-in-out}@keyframes octocat-wave{0%,100%{transform:rotate(0)}20%,60%{transform:rotate(-25deg)}40%,80%{transform:rotate(10deg)}}@media (max-width:500px){.github-corner:hover .octo-arm{animation:none}.github-corner .octo-arm{animation:octocat-wave 560ms ease-in-out}}</style> |
也可以修改D:\Myblog\themes\NextT\_config.yml里:
1 | github_banner: |

白猫插件
Github地址:https://github.com/EYHN/hexo-helper-live2d/blob/master/README.zh-CN.md
1 | $ npm install --save hexo-helper-live2d |
之后在D:\Myblog\_config.yml最后添加内容:
1 | # 白猫模型 |

图片文件夹插件
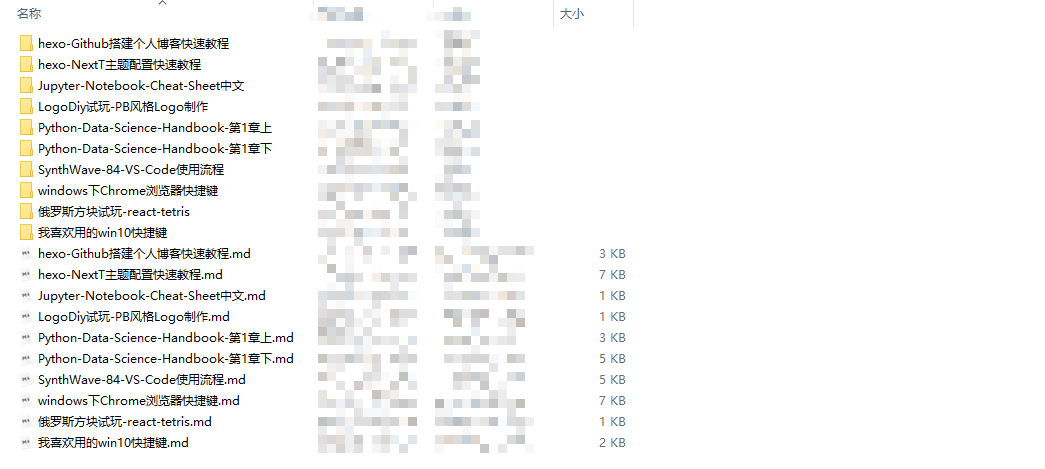
1.将 D:\Myblog\_config.yml文件中的 post_asset_folder 选项设为 true
2.D:\Myblog,右键Git Bash here,输入:
1 | $ npm install hexo-asset-image --save |

添加搜索栏
D:\Myblog,右键Git Bash here,输入:
1 | $ npm install hexo-generator-searchdb --save |
D:\Myblog\_config.yml添加:
1 | #表示站内搜索 |
D:\Myblog\themes\NextT\_config.yml,搜索local_search:
1 | local_search: |

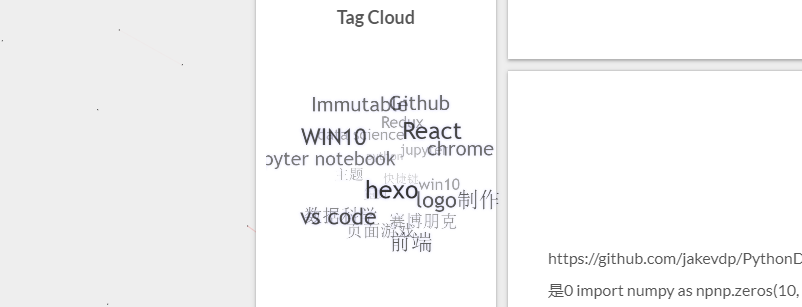
标签云
D:\Myblog,右键Git Bash here,输入:
1 | $ npm install hexo-tag-cloud --save |
D:\Myblog\themes\NextT\layout\_macro\sidebar.swig,然后添加内容:
1 | {% if site.tags.length > 1 %} |
D:\Myblog\_config.yml添加:
1 | # hexo-tag-cloud |

最后预览部署
1 | $ hexo clean && hexo g && hexo s |