前言
推荐hexo搭建博客详细教程:<https://eirunye.github.io/categories/Hexo/
由于同内容的教程实在太多,感觉没多大必要再写。所以简单记录下快速搭建个人博客的流程,方便自己使用。
提前准备
部署博客
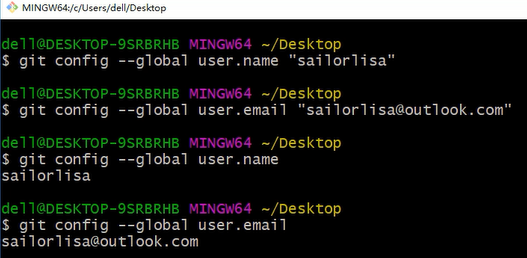
Git配置
在桌面,右键Git Bash here:
1 | $ git config --global user.name "sailorlisa" |

登陆Github,创建新的仓库——>Repository name 为 sailorlisa.github.io——>Public——>Creating repository。

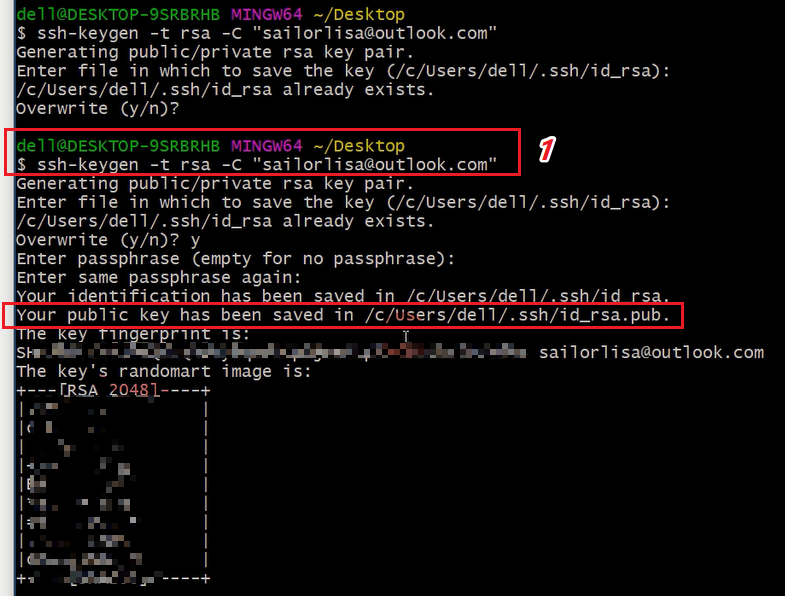
SSH配置
在桌面,右键Git Bash here:
1 | $ ssh-keygen -t rsa -C "sailorlisa@outlook.com" |
遇到提示,要你输入密码,按Enter跳过。

上面显示C盘路径里有我的Public key,找到对应路径文件,右键,用记事本打开,复制内容。

接下来去github,点击自己头像下的Settings——>Personal settings——>SSH and GPG keys——>New SSH key。
把刚刚复制的一长串内容粘贴在Key栏,Title填hexoblog。之后点Add SSH key。

安装hexo
在桌面,右键Git Bash here:
1 | $ ssh git@github.com |
在D盘创建文件夹“Myblog”,在文件夹内 右键Git Bash here:
1 | $ hexo init |
鼠标右键复制localhost:4000,用浏览器进入,预览下看看有没有问题。
没有问题后,打开D盘Myblog文件夹里,找到_config.yml(站点配置文件),右键用vs code打开,下滚,找到deploy,修改后保存。
1 | deploy: |
repository后面的内容是来自这里:

修改后回到D盘Myblog文件夹,右键Git Bash here:
1 | $ hexo g && hexo s |
预览下,没问题之后退出,然后去就换主题和配置主题。